If you run services on a home network (Traefik, dashboards, random Docker apps), you eventually hit the same annoyance. Browsers scream about untrusted certificates. Where you can, prefer Let's Encrypt with a DNS-01 challenge. You still get publicly trusted certs for names that only resolve on your LAN, without opening HTTP-01 to the internet. This guide is for the other option. Set up a local certificate authority for hostnames that are purely yours (or where DNS-01 is not an option).
This is how I set one up with mkcert, pointed Traefik at the certs, and then trusted the root CA on the family devices so everything shows a proper padlock.
Why a local CA?
In short:
- You get real TLS on internal hostnames without exposing them to the internet.
- Install the root CA once on each device. Every site certificate you issue from that same CA is then trusted automatically.
- mkcert is designed for this exact job and keeps the infrastructure small.
It is not a replacement for public CA certs on anything internet-facing. Think of it as the trusted identity for your network.
Create the local CA
On the machine that will act as your CA host (in my case, the server running Traefik):
sudo apt install libnss3-tools   # needed for certutil
sudo apt install mkcert
Install the local CA into the system trust store on that host:
mkcert -installThen generate a cert for your domain. I use winter.fell as the example; swap in whatever you actually run:
mkcert -cert-file winterfell.crt -key-file winterfell.key "winter.fell" "*.winter.fell"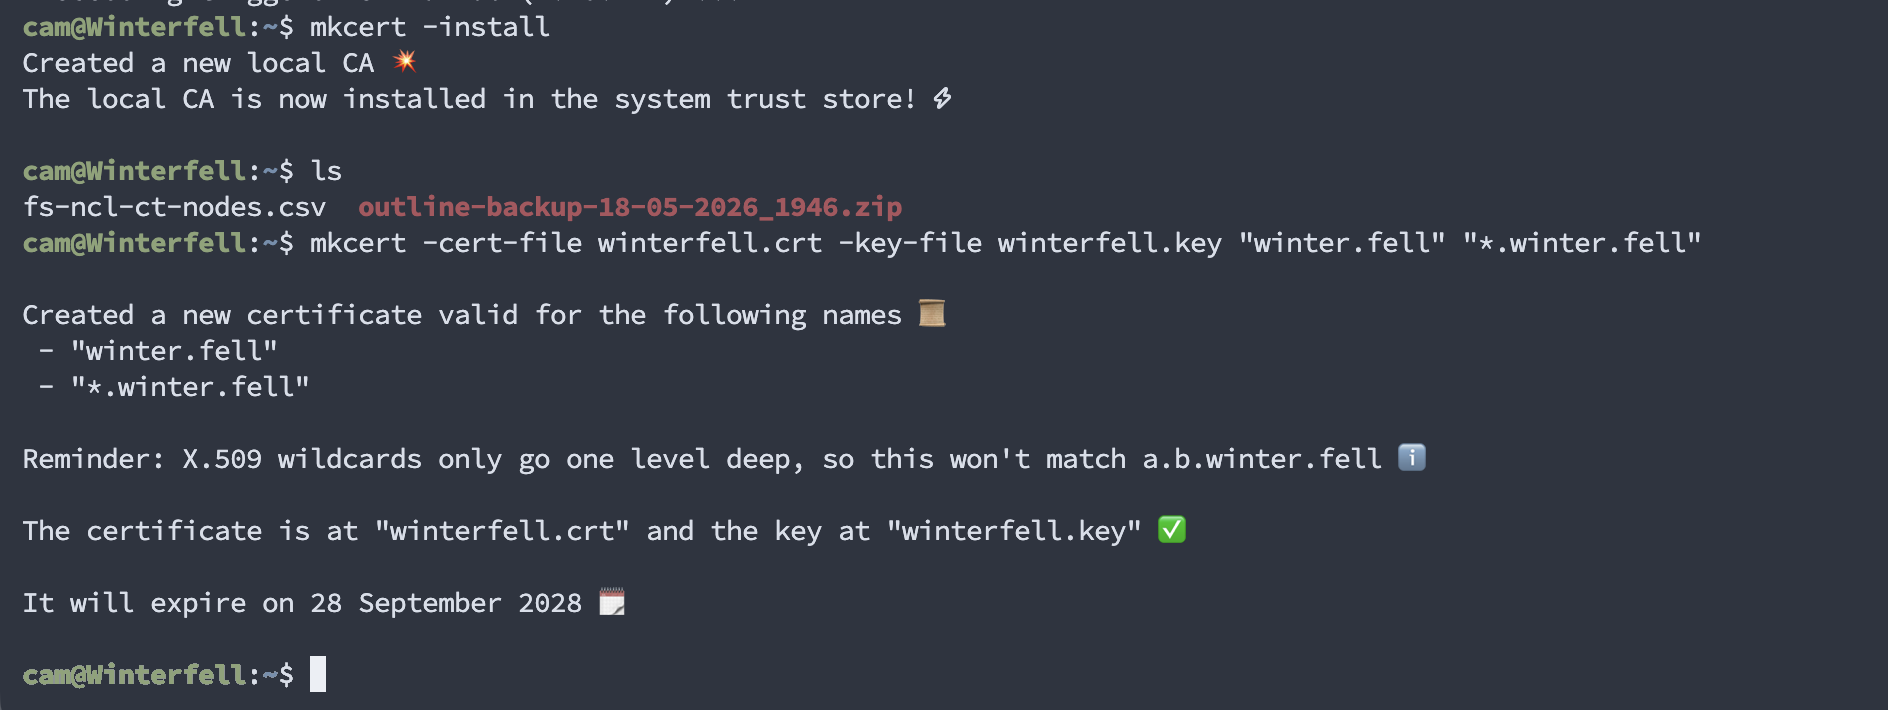
If you generate another cert later under the same root, it will already be trusted on every client where you imported the CA. Names without a dot (for example a short hostname like winterfell alongside winter.fell) can be included in the same command if you want them covered too.
Hand the certs to Traefik
I copy the .crt and .key into Traefik's certs directory and keep them owned by root:

Then add a TLS block to the Traefik config (see the Traefik docs if you need the wider layout):
tls:
  certificates:
    - certFile: /var/traefik/certs/winterfell.crt
      keyFile: /var/traefik/certs/winterfell.key
Because Cloudflare / ACME is my default resolver elsewhere, you may also need to tell a router to use this local certificate rather than chasing Let's Encrypt. On the router that is often just an empty tls: {} (or an explicit cert resolver pointing at local files):
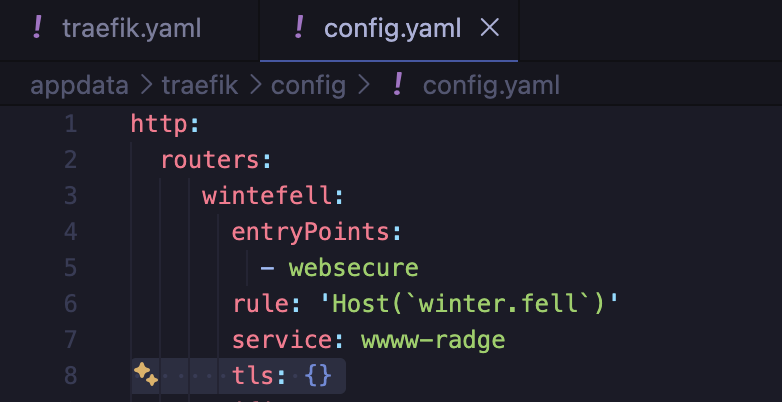
Traefik's docs recommended an explicit local TLS option here. I tried it, then removed it later, and things still worked. Your mileage may vary depending on how the rest of the stack is wired.
Open the site in a browser and check the certificate details. You should see your new cert presented:
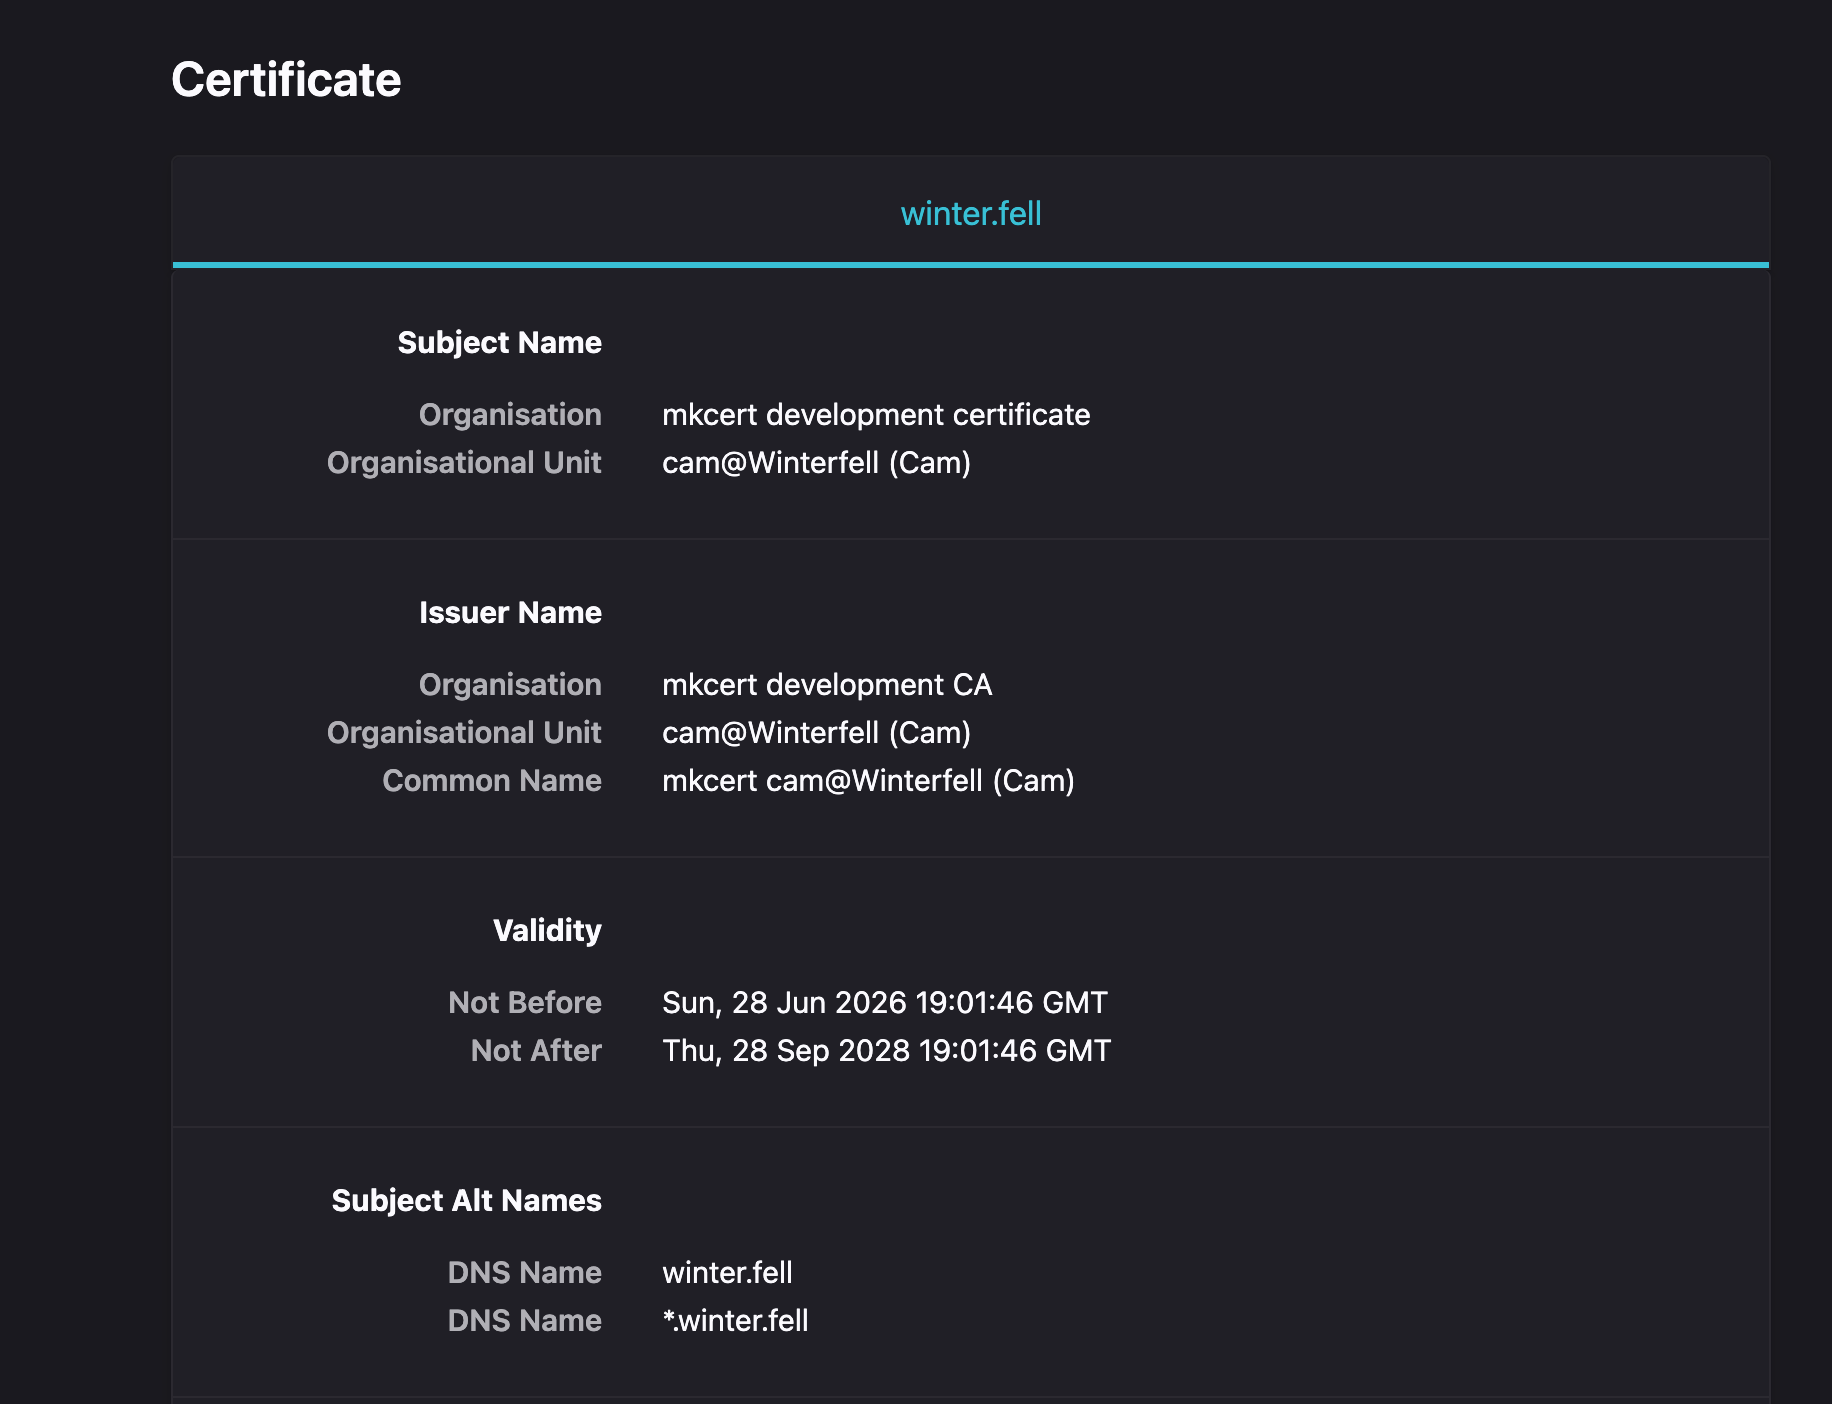
It will still look untrusted until clients trust the root CA.
Trust the root on your devices
Find the CA root on the server:
mkcert -CAROOT
That directory contains rootCA.pem, the file you install on phones and laptops.
Maintenance (so you are not surprised later)
mkcert's root CA is long-lived (on the order of ten years; mine shows valid until 2036). That is deliberate. You should not have to re-import a new root onto every family device every couple of years.
The site certificate (winterfell.crt in this example) is much shorter, roughly two years and three months (825 days). When that expires, regenerate with the same mkcert -cert-file ... command, drop the new files into Traefik, and restart. Clients do not need another CA import as long as the root is still valid.
macOS
Open Keychain Access, select login, then File → Import Items… and choose rootCA.pem. Double-click the imported certificate, expand Trust, and set it to trust for SSL:
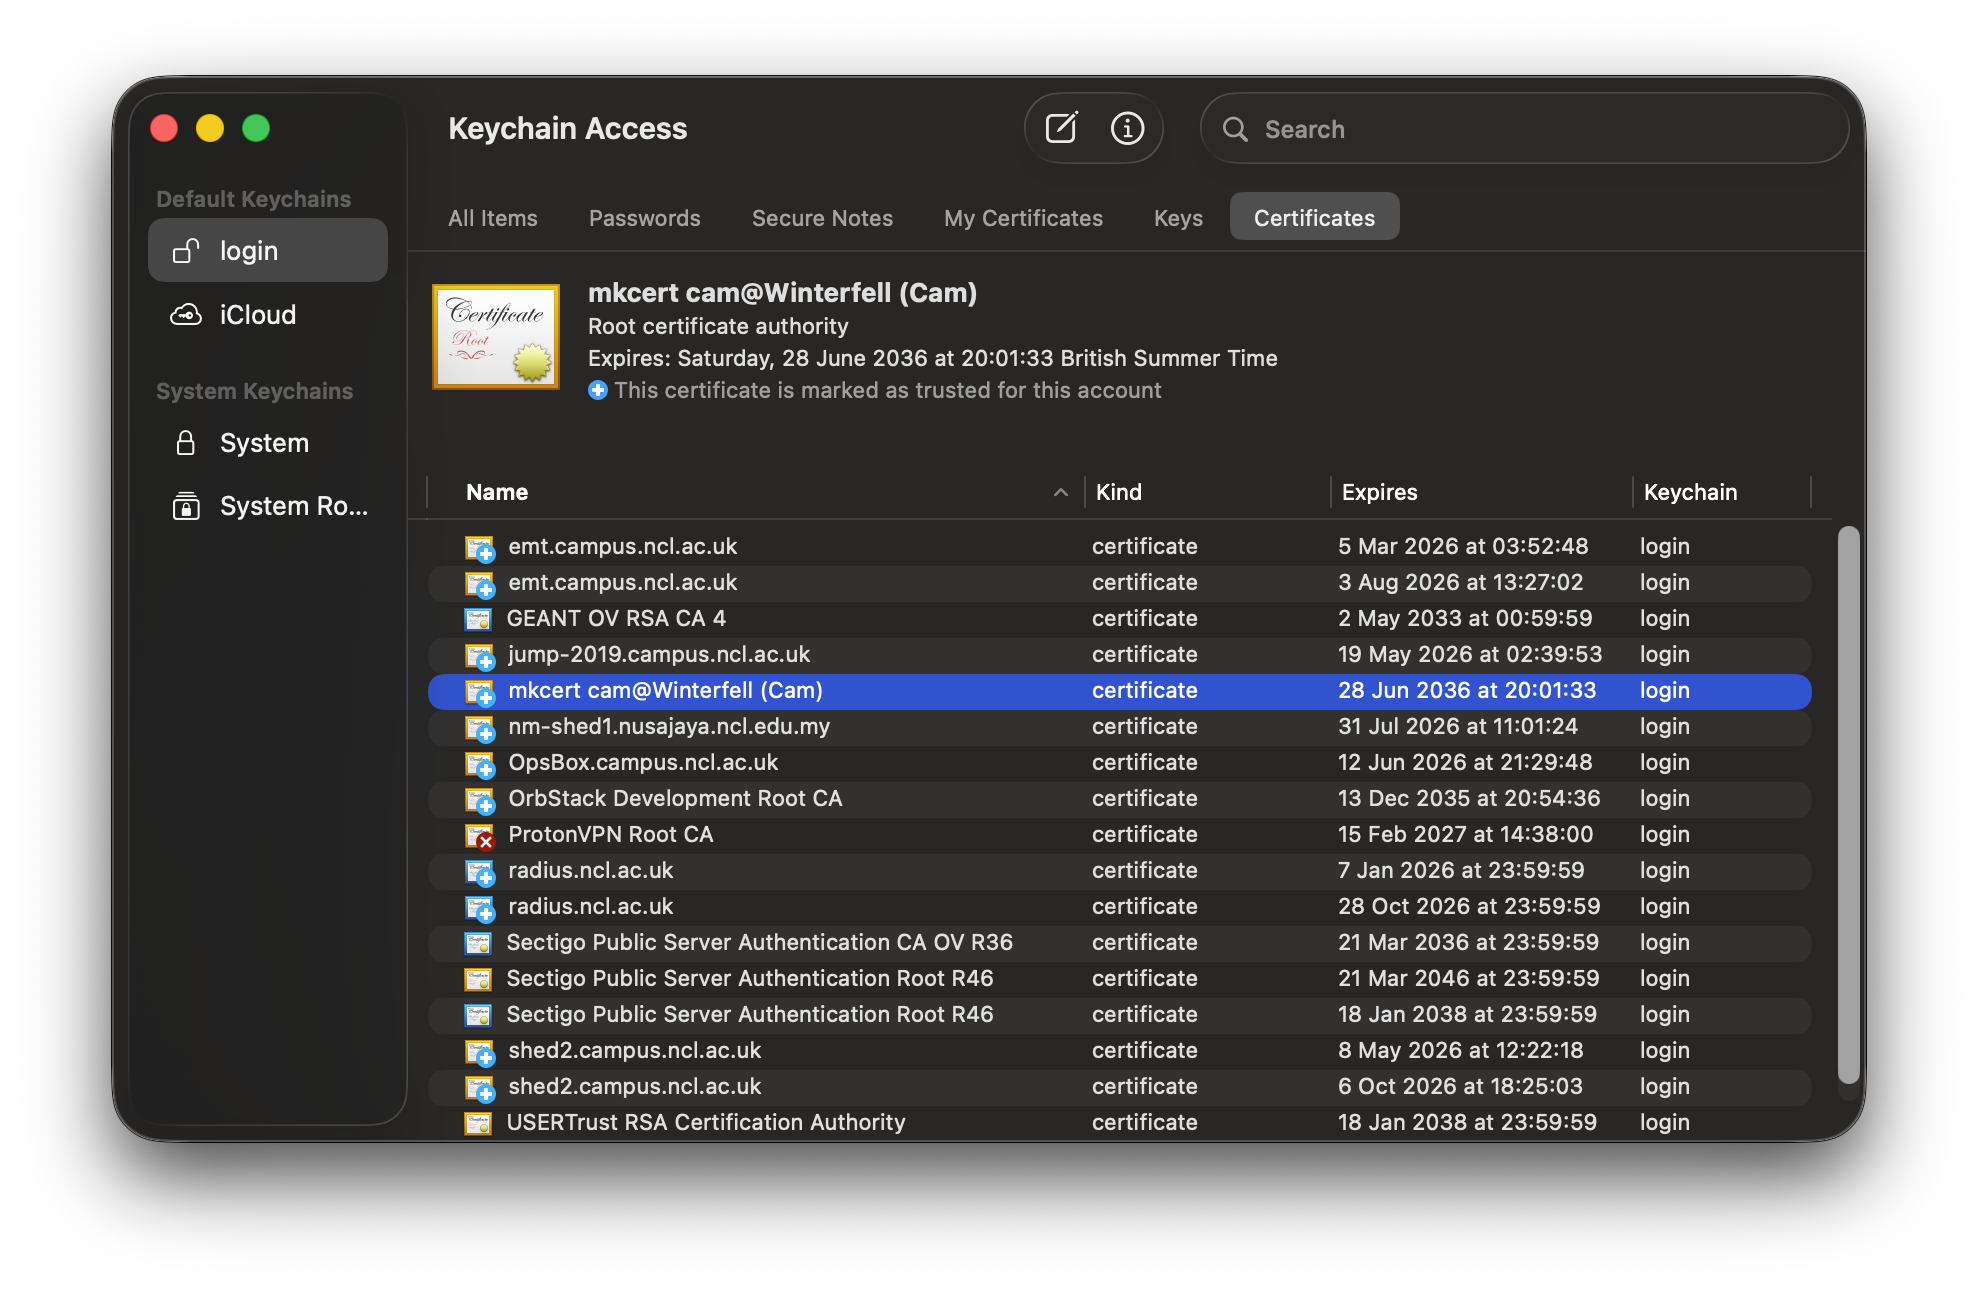
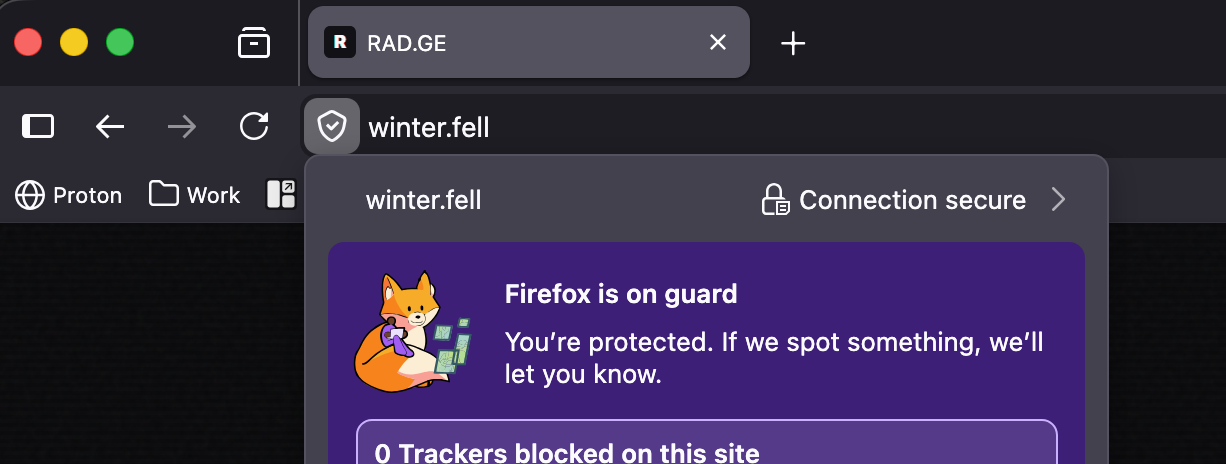
Close and enter your password when prompted.
Windows
Copy rootCA.pem over and rename it to rootCA.crt. Double-click → Install Certificate…:
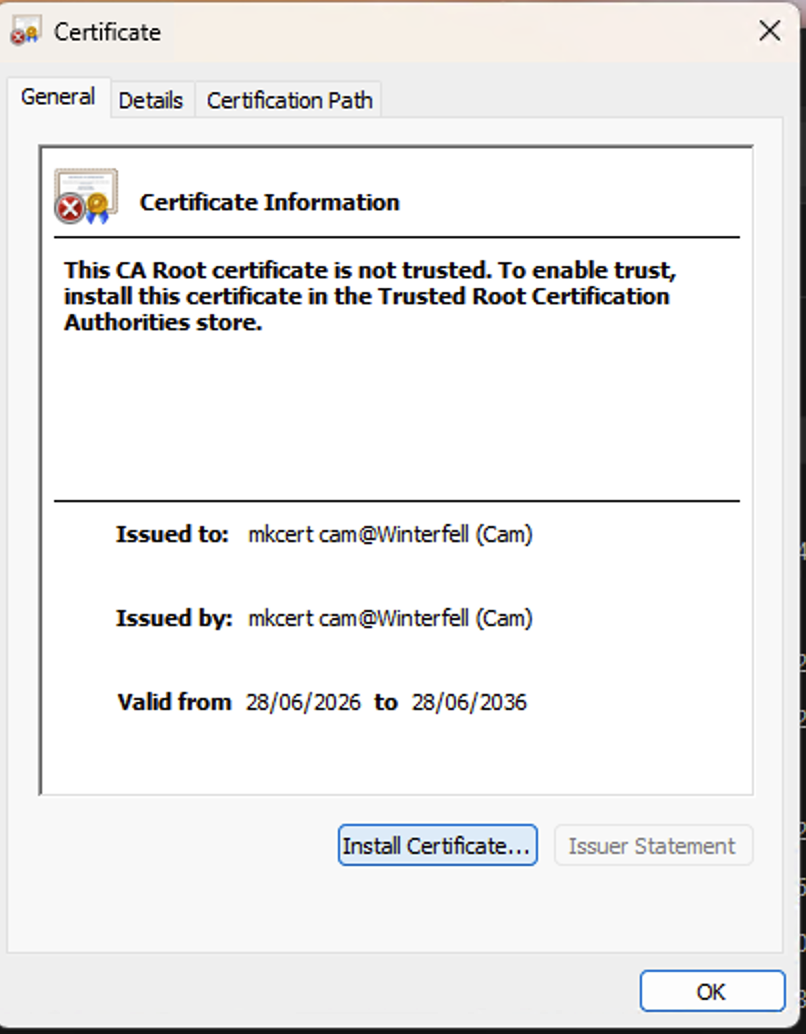
Choose Local Machine and click Next. Select Place all certificates in the following store and browse to Trusted Root Certification Authorities:
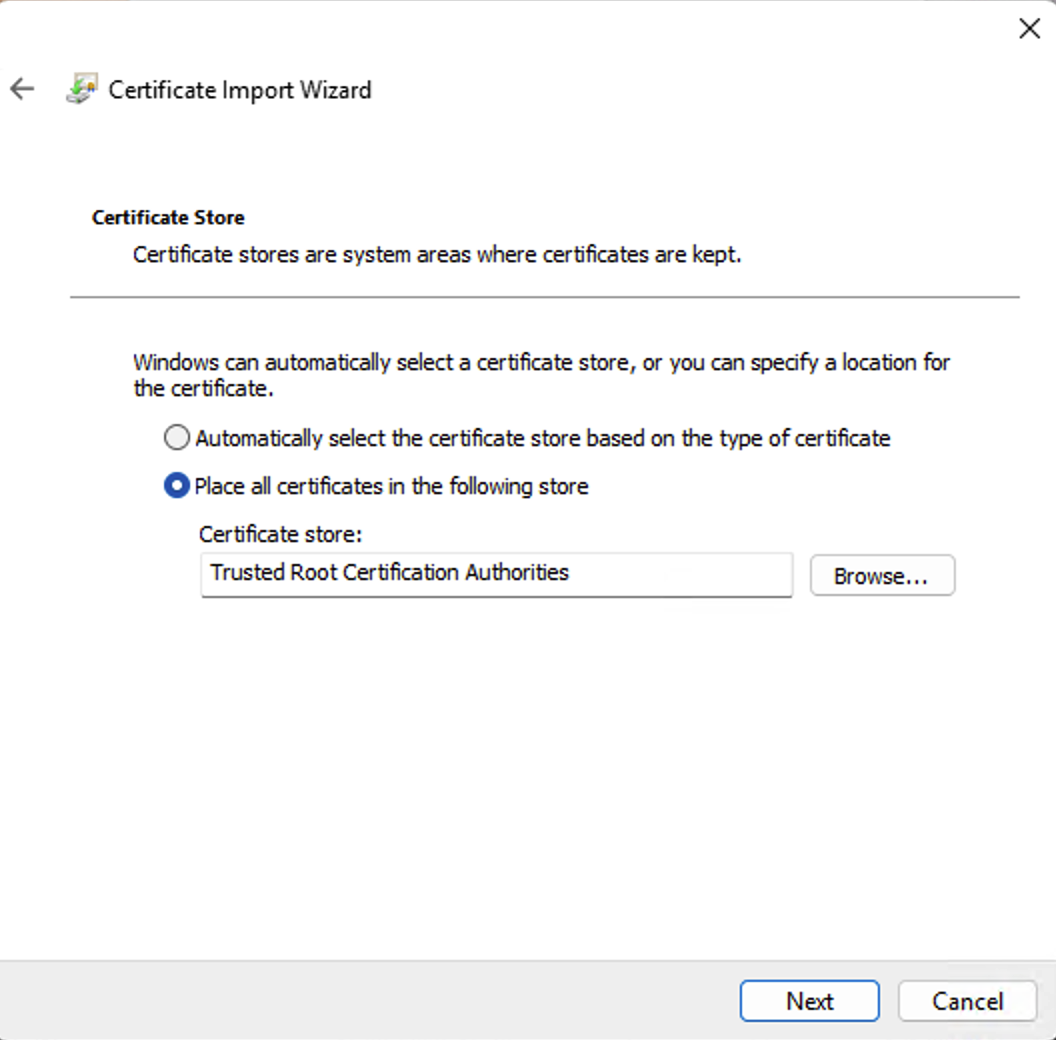
Finish the wizard:
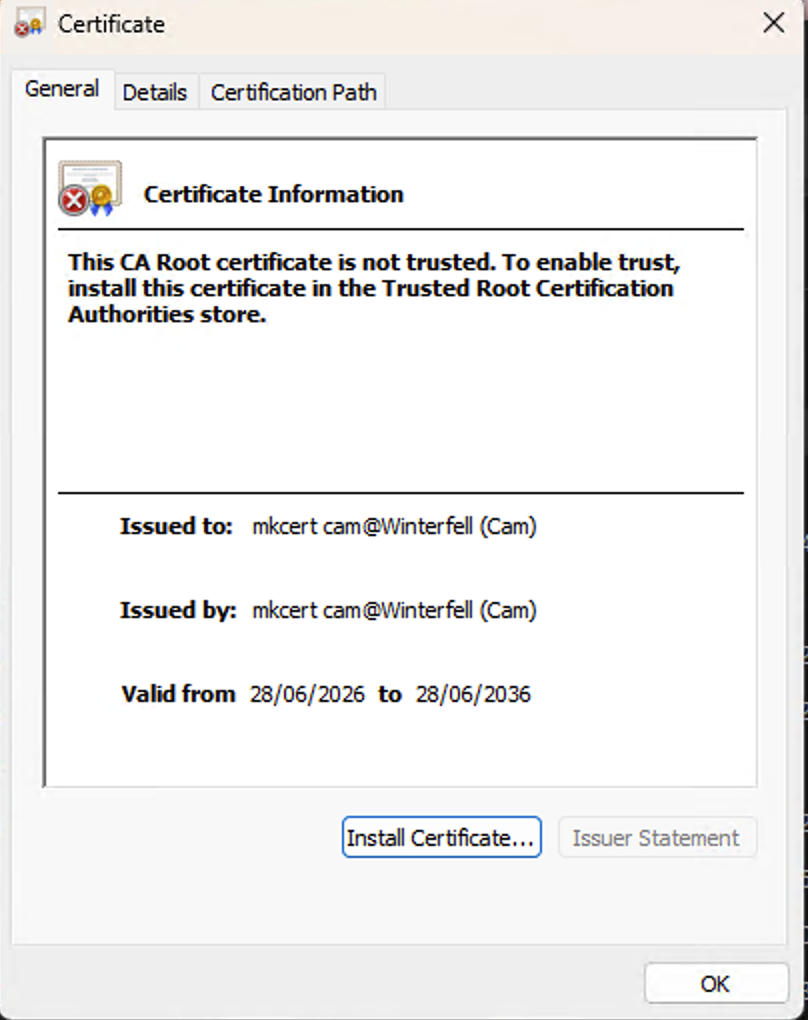
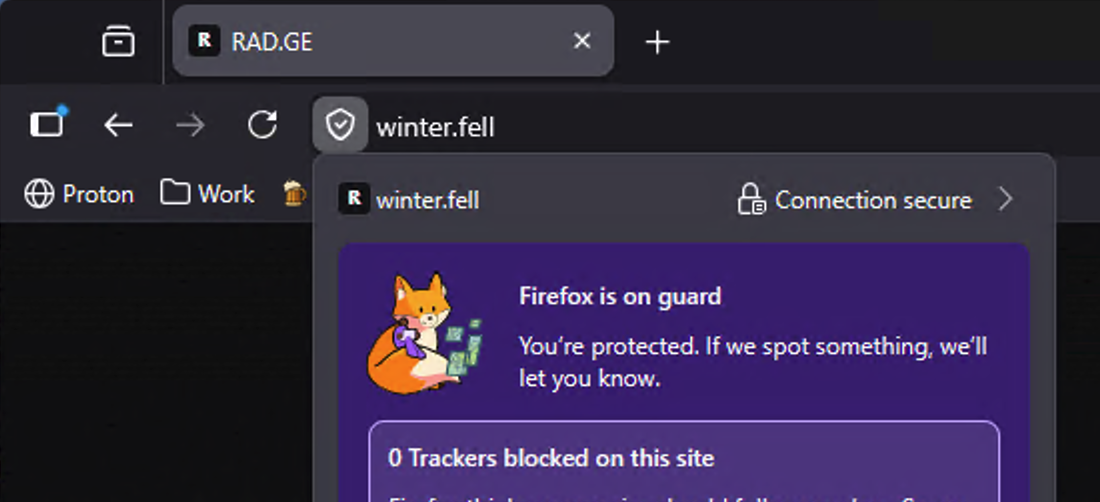
Restart your browser. You should then get the green padlock:
iOS
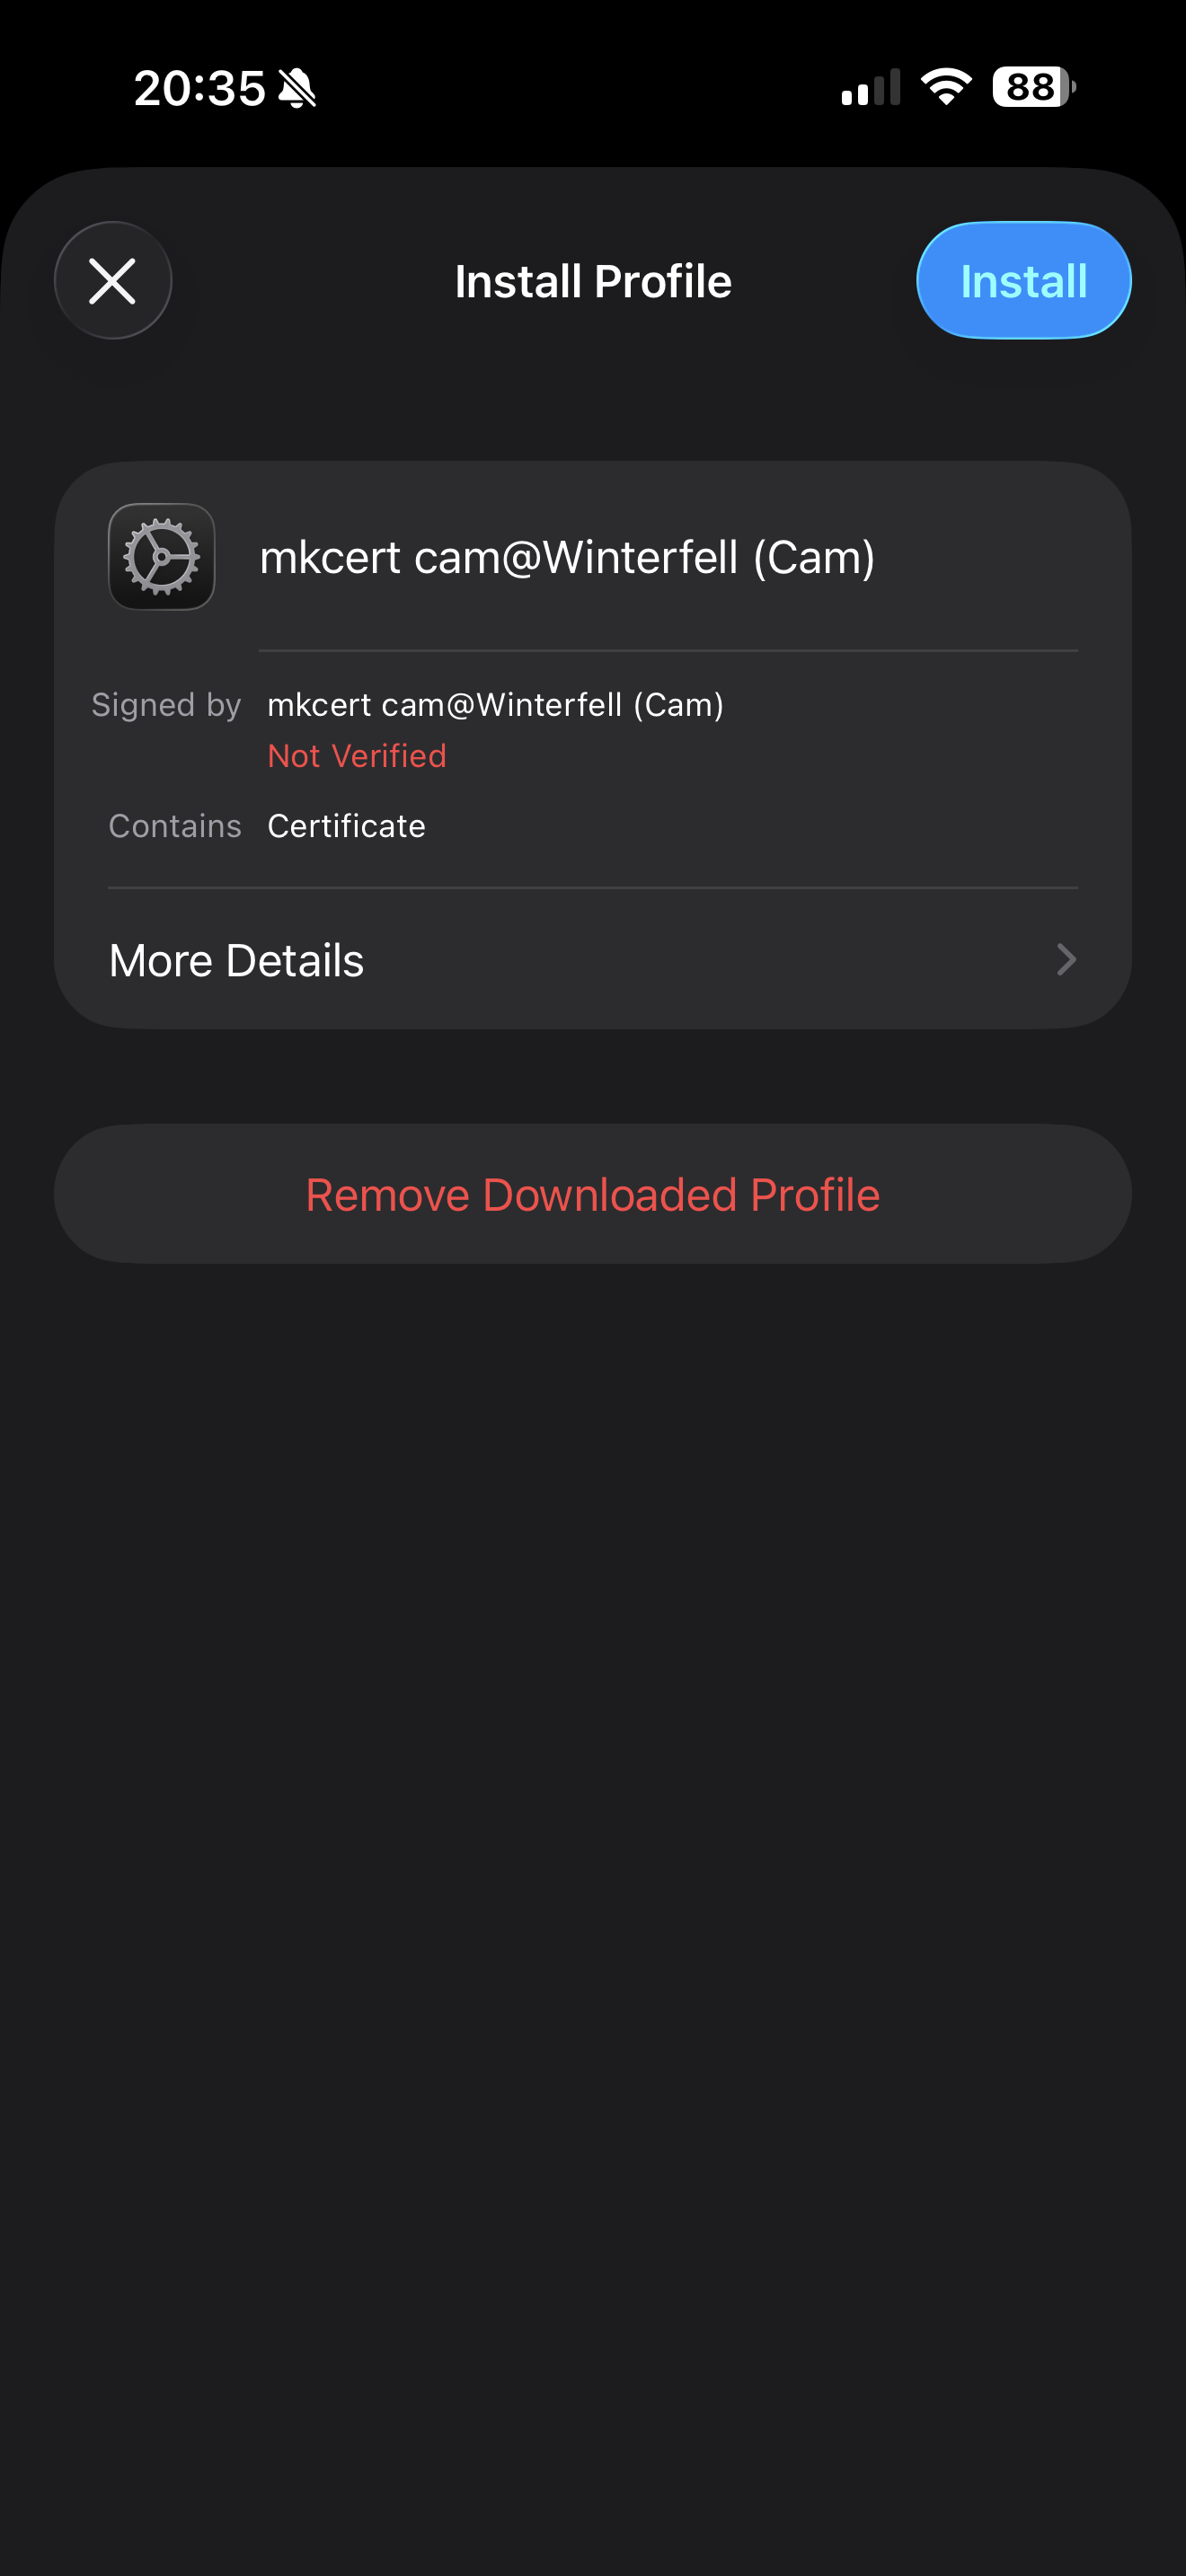
Get the rootCA.pem onto the device (AirDrop, Files, a quick internal download page, whatever you use). Install the profile when prompted:
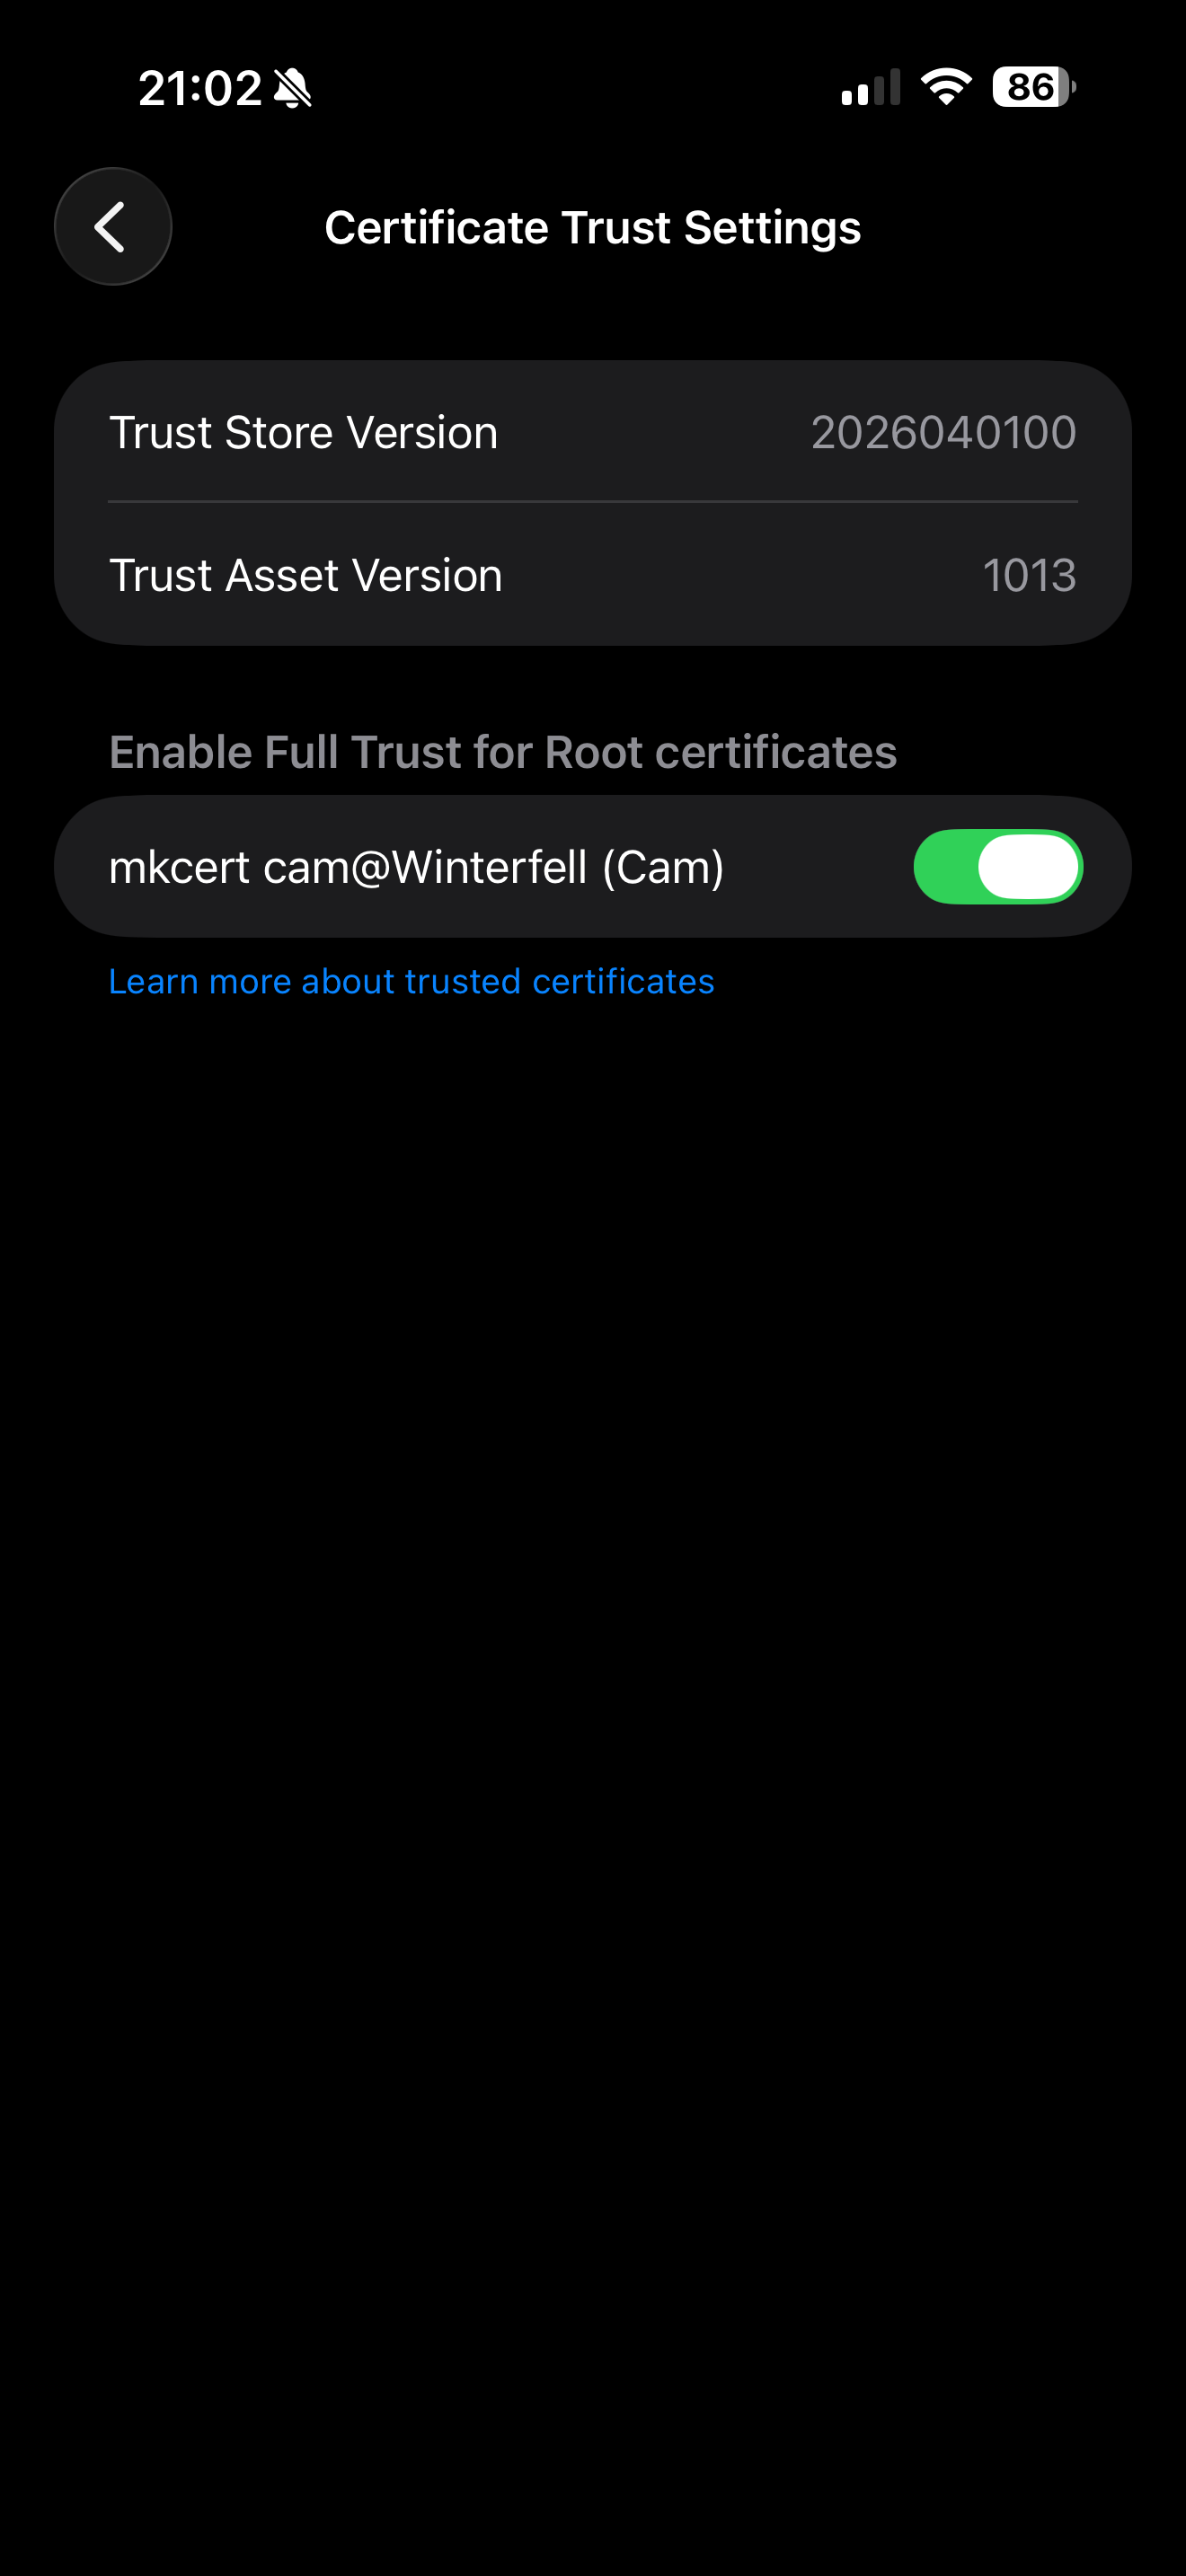
Then go to Settings → General → About → Certificate Trust Settings and enable full trust for the new CA:
Wrapping up
That is the whole loop. One local CA, short-lived site certs as needed, Traefik serving them, and the root planted on the devices you actually use. After that, internal HTTPS stops being a fight with certificate warnings and starts feeling like the rest of the web, which is exactly what you want when you are bouncing between dashboards at home.